
The Ultimate Brampton Selling Guide for 2026 Homeowners
Use this Brampton home selling checklist to prep, stage, launch, show, negotiate, and close with confidence—built for Toronto-area sellers in 2026.
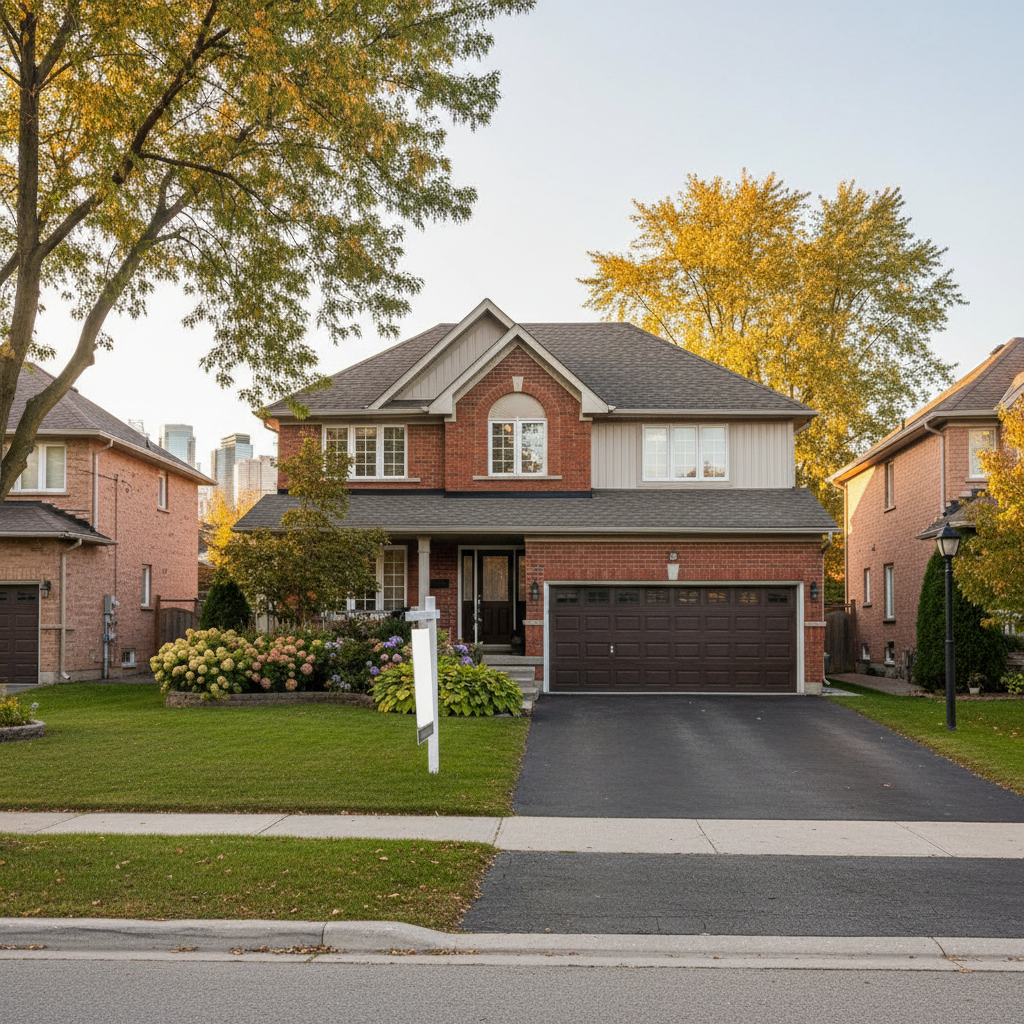
Brampton home selling checklist refers to a step-by-step plan Brampton homeowners use to prepare, list, market, negotiate, and close a sale efficiently. At 52 Scarsdale Rd Suite 205 in the Toronto metro, our team guides sellers through each task, from valuation to closing paperwork, using ABR, SRS, and RENE expertise so you sell confidently and on time.
By Robin Patel — Founder & Realtor, RE/MAX METROPOLIS REALTY
Last updated: 2026-05-24
At a Glance
This guide gives Brampton sellers a complete, practical home selling checklist: what it is, why it matters, how it works, and the exact steps from prep and staging to offers, negotiation, and closing. Use it as your day-by-day roadmap to launch quickly, market smartly, and move with less stress.
- What you’ll learn: A clear 7-phase process, 12-point prep list, staging and marketing best practices, and closing steps.
- Who it’s for: Brampton homeowners listing soon or planning within 90 days.
- Why it works: It organizes tasks, prevents delays, and supports stronger offers.
- Tools included: Address-based valuation workflow, listing prep templates, showing scripts, and move-out checklist.
What Is a Brampton Home Selling Checklist?
A Brampton home selling checklist is a structured sequence of tasks that prepares your property for market, attracts qualified buyers, and guides you to a clean closing. It standardizes prep, staging, marketing, showings, offer review, and closing steps so you avoid costly delays and maximize buyer confidence.
A checklist makes an unpredictable process predictable. It captures the key jobs sellers forget under time pressure—repairs, decluttering, pre-list paperwork, showing rules, and closing confirmations. When every task has an owner and a due date, momentum builds and stress drops.
- Core components: valuation, repairs, staging, photography, listing launch, showings, offer strategy, conditions, closing tasks.
- Why now: Early prep improves first-week impressions when interest peaks and buyers compare options.
- What most skip: documenting upgrades, utility summaries, and neighborhood highlights that answer buyer questions fast.
Why This Checklist Matters in Brampton’s Market
Brampton’s fast-moving Toronto-area market rewards prepared sellers. A documented checklist reduces days on market, sharpens buyer perception, and streamlines negotiations. The result is cleaner offers, fewer surprises, and a timeline you can actually plan around.
Buyers compare multiple homes in the first week of browsing. Your listing must win attention quickly with crisp visuals, complete disclosures, and clear next steps for touring. A checklist keeps you focused on what persuades buyers—condition, convenience, and confidence.
- Condition: Light repairs and staging signal care and reduce buyer objections.
- Convenience: Simple showing rules and fast answers create momentum.
- Confidence: Organized documents and timelines reassure buyers and their agents.
In our experience representing Brampton sellers, the homes that launch with polished photography, tight property descriptions, and well-planned showing windows consistently draw stronger early interest and clearer offers.
How the Brampton Selling Process Works (Step-by-Step)
The selling process runs through seven stages: evaluate, prepare, stage, launch, show, negotiate, and close. Each stage has specific tasks, owners, and deadlines. When you follow these steps in order, you control your timeline instead of reacting to last-minute surprises.
- Evaluate: Gather comparable sales, verify property details, and document upgrades.
- Prepare: Tackle light repairs, service HVAC, and schedule cleaners.
- Stage: Declutter, depersonalize, and arrange rooms to photograph well.
- Launch: Finalize copy, upload photos, and activate on listing platforms.
- Show: Set showing blocks, confirm access, and capture feedback.
- Negotiate: Review price, conditions, and timelines; counter with priorities.
- Close: Complete conditions, sign documents, and coordinate key handoff.
Each stage stacks benefits: better prep leads to better photos; better photos boost showing volume; more showings improve offer quality. Simple, repeatable tasks drive reliable outcomes.
12-Point Pre-Listing Prep Checklist
Complete these 12 items before photos: deep clean, paint touch-ups, minor repairs, lighting checks, curb appeal refresh, service HVAC, declutter 30–40%, organize storage, safety checks, document upgrades, gather warranties, and stage high-impact rooms. These quick wins elevate photos and showings from day one.
- Deep clean: Kitchens, baths, baseboards, windows, vents.
- Paint touch-ups: Neutralize scuffs; patch and sand.
- Minor repairs: Drips, squeaks, loose handles, cracked caulk.
- Lighting audit: Replace bulbs; match color temperature room-by-room.
- Curb appeal: Trim shrubs, edge lawn, clear walkways, refresh entry.
- Service HVAC: Replace filters; book a routine service if overdue.
- Declutter: Reduce surfaces by 30–40% to open sightlines.
- Storage zones: Organize closets; half-full looks spacious.
- Safety: Test detectors; secure loose railings and rugs.
- Upgrades list: Year, make, and model for major systems.
- Warranties & manuals: Gather in a clear sleeve for showings.
- High-impact staging: Entry, living room, kitchen, primary bed and bath.
Staging and Photography Best Practices
Stage to highlight space, light, and flow. Then capture professional, well-lit photos in the right sequence. Buyers scan images in seconds; a deliberate order and consistent color feel make your home easy to love and remember.
Great staging is subtraction first. Remove visual noise, then add warm, neutral textures. Photograph on a bright day with blinds open and lights on. Lead with exterior, entry, main living, kitchen, dining, primary suite, key secondary rooms, and outdoor living.
- Color palette: Light walls, neutral textiles, greenery accents.
- Room purpose: Remove ambiguous items; define a clear use.
- Photo sequence: Exterior → entry → living → kitchen → dining → beds → baths → backyard.
- Consistency: Match bulb temperature to daylight for natural color.
- Details: Hide cords, personal photos, and pet items before the shoot.

Listing, Marketing, and Showings
Launch with complete, accurate data; lead with standout photos; publish clear showing rules; and respond fast. The first 72 hours set the tone. A tight listing package and quick communication create momentum that compounds into stronger offers.
- Property details: Verify square footage, room sizes, lot information, and inclusions.
- Copywriting: Lead with 3–5 value headlines; keep sentences short; avoid jargon.
- Showing plan: Use set blocks, confirmed access, and same-day feedback.
- Response time: Aim to reply to inquiries within the same hour whenever possible.
- Signage: Clear, visible, and compliant with local rules.
For additional marketing ideas relevant to Ontario home sales, review this practical real estate marketing guide that outlines open house frameworks, photo plans, and launch checklists tailored to the province.
Offer Review and Negotiation (SRS + RENE Approach)
Evaluate the whole offer, not just price. Look at deposit strength, timelines, conditions, inclusions, and buyer profile. Clarify your priorities, counter strategically, and keep communications professional and prompt to maintain buyer confidence.
Our Seller Representative Specialist (SRS) and Real Estate Negotiation Expert (RENE) training emphasize total-offer value: price, risk, timing, and certainty. A slightly different closing date or condition period can be the difference between a smooth move and a scramble.
- Assess risk: Who is the buyer? How solid is financing? Are conditions reasonable?
- Time value: Align closing with your next move to avoid storage and double moves.
- Certainty: Cleaner terms often outperform marginal price gains.
- Counter tips: Edit one or two items per round; keep signals clear.
For perspective on team-based support in Ontario transactions, this Ontario team overview explains coordination across marketing, showings, and negotiations.
Closing Day and Move-Out Checklist
Confirm condition, transfer utilities, complete final cleaning, and leave keys and manuals in a labeled folder. A smooth closing day is about details. Checklists prevent last-minute scrambles and keep both parties confident until key handoff.
- Walk-through: Property empty, swept, and systems operational.
- Utilities: Schedule final readings; share provider info.
- Documents: Warranties, manuals, key codes, and remotes in one place.
- Access: Lockbox removal, spare keys labeled.
- Handoff: Share garbage day, mailbox, and any neighborhood quirks.
Selling Approaches and Timing Options
Choose an approach that fits your timeline and risk: traditional MLS exposure, private pre-marketing, or a two-phase “prep now, list later” plan. Align timing with school schedules, weather, and your next purchase for a lower-stress move.
- Traditional listing: Broad exposure, full data, and showing activity.
- Private pre-marketing: Prep quietly; gather interest; launch when photos are ready.
- Two-phase plan: Complete repairs now; launch in a high-traffic window.
- Seasonal nuance: Bright spring and early fall often yield more daytime showings.
DIY FSBO vs. Listing with a REALTOR (Comparison)
Selling on your own offers control, but representation adds structured marketing, screening, and negotiation leverage. Compare scope, time, and risk to decide what fits your situation and stress tolerance.
| Factor | DIY / FSBO | With a REALTOR |
|---|---|---|
| Market exposure | Limited platforms | Broad syndicated reach |
| Pricing strategy | Self-research | Data-driven CMA |
| Staging & photos | Self-managed | Vendor network |
| Showings | Coordinate everything | Managed calendar |
| Offer review | Learn on the fly | Experienced guidance |
| Negotiation | Limited leverage | RENE-trained strategy |
| Legal & closing | High DIY effort | Streamlined process |
Tools and Resources for Brampton Home Sellers
Use a simple stack: address-based valuation, a photo-ready staging plan, templated showing instructions, and a closing-day packet. Together, these tools shorten prep time and prevent repeat questions from buyers and their agents.
- Address-based valuation workflow: Document upgrades, condition notes, and neighborhood highlights.
- Staging checklist: Room-by-room tasks, photo order, and a donation/haul-away plan.
- Showing guide: Access rules, response targets, and feedback logging.
- Closing-day packet: Keys, remotes, warranties, and utility contacts in a transparent sleeve.
For additional background on early-phase buyer behavior in local new-build contexts, see this Brampton pre-construction overview, which highlights timing and decision flow that often mirrors resale buyer thinking.
Case Studies: Two Brampton Seller Scenarios
These two mini-examples show how a disciplined checklist shapes results: one time-pressed seller and one “prep-first” planner. In both, organized staging and fast responses raised buyer confidence and simplified closing.
Scenario 1: Time-Pressed Relocation
- Challenge: Job relocation with a firm move date.
- Checklist focus: 10-day prep sprint, weekend photo slot, weekday evening showings.
- Outcome: Early interest concentrated in first 5 days, enabling a clean negotiation window.
Scenario 2: Prep-First Planner
- Challenge: Coordinating sale with a new-build possession.
- Checklist focus: Repairs completed 30 days prior; “photo-ready” staging; flexible showing calendar.
- Outcome: Consistent showings, easier schedule control, and a target closing aligned with possession.
Buying Guide for Sellers Who Also Need to Buy
If you’re buying and selling, decide first: sell then buy, or buy then sell. Your choice hinges on financing, tolerance for double moves, and possession timing. Align both timelines in writing to avoid gaps.
- Sell-then-buy: Clear budget from sale proceeds; risk of interim housing.
- Buy-then-sell: Certainty on your next home; more pressure to sell quickly.
- Bridging moves: Storage and short-term stays keep timelines flexible.
- Document dates: Put ideal closing and possession windows in your plan.
Pro tip: Build a simple calendar with key dates for both transactions so every decision ladders back to timelines you control.
Local Insights for Brampton Sellers
In Brampton and the greater Toronto metro, weekend daytime showings and well-lit photos drive attention. Weather, school calendars, and commute routes influence buyer patterns, so time your launch to maximize daylight and traffic.
Local considerations for Brampton
- Use bright, midday light for exteriors; overcast days flatten color. Nearby green spaces like Bond Park can be a lifestyle talking point for buyers who value outdoor access.
- Plan around late-spring and early-fall weekends when families tour together; winter listings benefit from warm interior lighting and cozy staging.
- From our Toronto-area base near Ace Acumen Academy, we coordinate weekday evening showings to accommodate commuter schedules common across the GTA.

Common Seller Mistakes to Avoid
Skip these pitfalls: launching with incomplete data, overpersonalized rooms, inconsistent lighting, vague showing rules, and slow responses. These small errors snowball into fewer tours and weaker offers.
- Incomplete details: Missing room sizes or lot data invite hesitation.
- Overpersonalization: Bold colors and heavy decor limit buyer imagination.
- Lighting mismatch: Mixed bulb temperatures make photos look dull.
- Vague showings: Confusion reduces tour volume; clarify access.
- Slow replies: Momentum fades when questions sit unanswered.
The 7-Day Launch Plan
Condense prep into one week: day 1 valuation, day 2 repairs, day 3 staging, day 4 photos, day 5 listing copy, day 6 launch, day 7 feedback review. This schedule keeps energy high and simplifies decisions.
- Day 1: Confirm valuation inputs and your target window.
- Day 2: Complete minor repairs and paint touch-ups.
- Day 3: Stage high-impact rooms and set photo list.
- Day 4: Shoot photos mid-morning or early afternoon.
- Day 5: Finalize copy; verify property disclosures.
- Day 6: Go live; announce showings; confirm access.
- Day 7: Analyze feedback; tweak photos or copy as needed.
Downloadable Checklists and Templates
Work from templates to save time: a 12-point prep list, photo sequence sheet, showing instructions, offer comparison grid, and closing-day packet. Reusing proven lists prevents missed steps and rework.
- 12-point prep list (printable)
- Photography sequence and staging notes
- Showing rules and feedback tracker
- Offer comparison grid (terms, timing, risk)
- Closing-day packet contents sheet
Frequently Asked Questions
These quick answers cover timing, prep, staging, and negotiation. Each response is concise and actionable so you can keep your sale moving.
How far in advance should I start my Brampton home selling checklist?
Begin light repairs and decluttering 3–4 weeks before photos. If you’re tight on time, our 7-day launch plan compresses prep into one focused week without sacrificing presentation quality.
Do I need to stage every room?
No. Prioritize the entry, main living area, kitchen, primary bedroom, and primary bath. Secondary rooms should be tidy and clearly purposed, but they don’t require full staging to make a strong impression.
What makes the biggest difference in photos?
Consistent lighting and clutter-free surfaces. Match bulb color to daylight, open blinds, hide cords and personal items, and shoot in mid-morning or early afternoon for bright, natural results.
How do I compare offers beyond price?
Create a simple grid: price, deposit, conditions, timelines, inclusions, and buyer profile. Prioritize certainty and timing alongside dollars to reduce risk and protect your move-out plan.
Key Takeaways
Great prep, consistent visuals, clear showing rules, and responsive communication are the pillars of a smooth sale. Use a checklist to keep momentum high and decisions simple.
- Your best leverage is preparation you control.
- Launch with complete, accurate data and bright, consistent photos.
- Respond quickly; momentum compounds into stronger offers.
- Align closing dates with your next move to reduce stress.
Next Steps
Set your target launch window, confirm your 12-point prep tasks, and schedule photos. Then publish clear showing rules and prepare your offer comparison grid. You’ll feel in control from day one.
- Pick a launch week and work backward with calendar holds.
- Complete the 12-point prep list and room-by-room staging.
- Draft your first 150 words of listing copy—short, specific, and buyer-focused.
- Set showing rules and feedback targets before you go live.
Ready to sell with a plan? Let’s build your Brampton home selling checklist together from our Toronto-area office at 52 Scarsdale Rd Suite 205. We’ll map your timeline, prep, photos, and offer strategy so you can move with confidence.