
Home Staging: Sell Faster & Get More Money in 2026
Home staging tips for sellers in North York: room-by-room checklists, photo-day plan, and practical steps to sell faster with stronger offers.
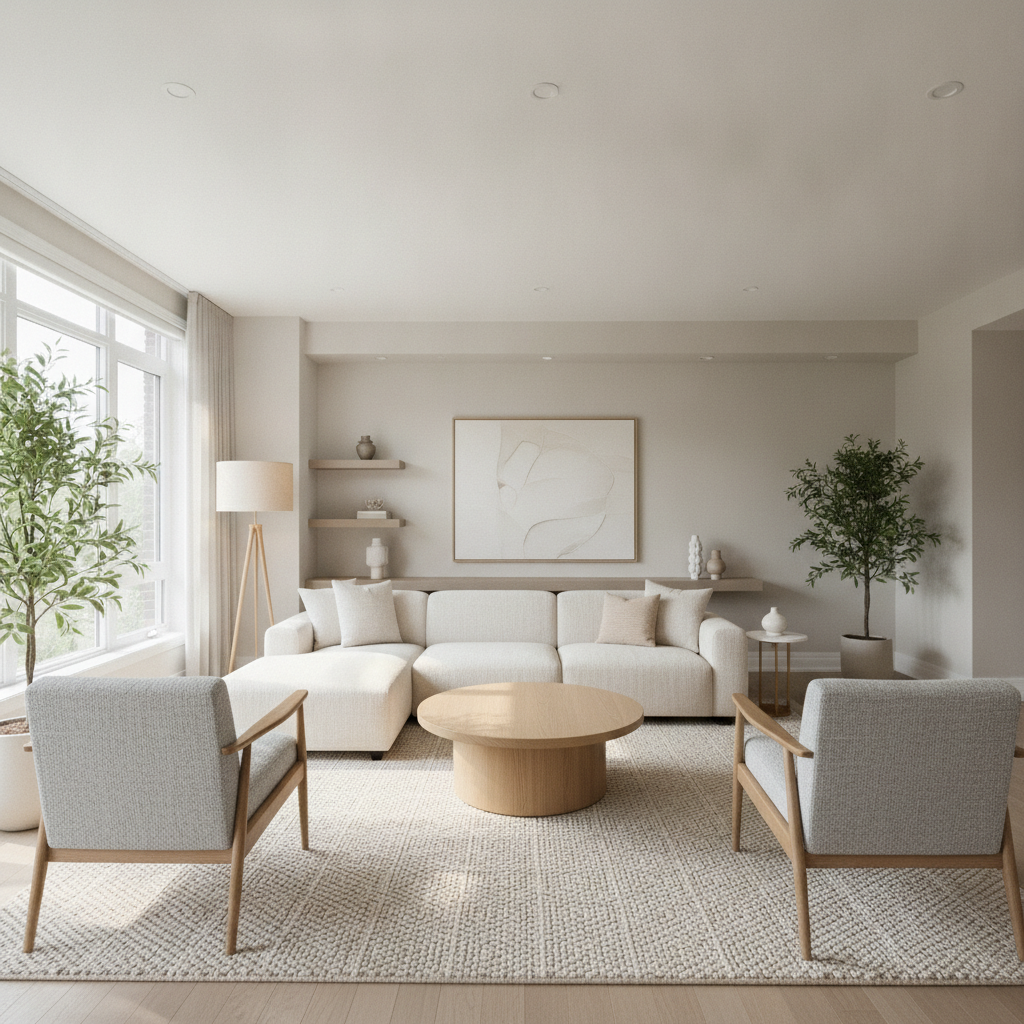
Home staging is the strategic preparation of a property to highlight space, light, and lifestyle so it attracts more buyers and stronger offers. Done well, staging helps homes sell faster and with better terms. For North York sellers, it’s a high-impact way to stand out online and in-person during showings.
By Robin Patel — Founder & Realtor, RE/MAX METROPOLIS REALTY
Last updated: 2026-07-03
Above the fold: why this guide matters + table of contents
This complete guide shows sellers how to stage a home step by step, room by room, and with local North York nuances. You’ll learn what staging is, why it works, DIY versus pro options, and practical checklists. Use it to prepare fast, reduce days on market, and maximize buyer appeal.
Here’s the thing: buyers shop with their eyes first, and seconds count on listing photos. In our experience helping Brampton and GTA sellers, organized preparation creates momentum from the moment your home goes live.
- What staging is and why it matters
- Step-by-step process with timelines and milestones
- DIY vs professional staging: when each approach fits
- Room-by-room checklists and design cues
- Photo-day and open house playbooks
- North York-specific considerations and showings
- Tools and templates to stay on track
Quick summary
Start with decluttering and depersonalizing, then deep clean and repair. Update lighting, define furniture layouts, and add neutral accents. Prioritize curb appeal and photo-ready styling. Schedule staging to finish 2–3 days before photos and showings for a smooth launch.
- Target timeline: 10–14 days before photography for most lived-in homes.
- Declutter goal: remove 25–30% of visible items; aim for fewer than 3 objects per surface.
- Lighting: use warm-white bulbs around 3000–3500K, consistent in each room.
- Photos: plan for 20–30 images plus 1–2 short clips; stage key vignettes.
- Showings: keep daily reset to 10–15 minutes with labeled bins and baskets.
What is home staging?
Home staging is preparing a property—through cleaning, repairs, furniture placement, and decor—to help buyers see function, flow, and lifestyle. Effective staging spotlights space and light, reduces distractions, and guides buyers to imagine living there from the first photo to the last showing.
In practice, staging blends market strategy with design. We use buyer insights from Brampton and the broader GTA to select neutral palettes, edit furniture, and create sightlines. The goal is to shape a narrative from curb to kitchen so buyers connect emotionally and logically.
- Design signals buyers read: balanced layouts, uncluttered counters, cohesive color temperature, and fresh textiles.
- Behavior cues: clear walkways at least 36 inches wide, defined zones in open plans, and purposeful lighting layers.
- Market alignment: staging choices that match local preferences for townhomes, condos, and detached homes.
Here’s why this matters: online attention windows are short. Strong first images increase tour requests, which can concentrate early offers while your listing is “new.”
Why staging matters for sellers
Staging reduces buyer friction, helps your photos pop on MLS, and structures showings that feel easy and memorable. The result is typically faster interest and stronger terms. It’s a controllable lever sellers can pull to compete in any market cycle.
We’ve found three dynamics drive results:
- Photos drive foot traffic: well-staged rooms produce more angles worth photographing, which multiplies listing engagement.
- Clarity reduces objections: defined rooms and neutral styling reduce “Will this fit?” doubts.
- Momentum compounds: day 1–7 activity often shapes perception; staging stacks the deck for that first week.
For context on seller strategy, see industry takes on why presentation matters, such as this primer on why staging matters for home sales, and more broadly, timing considerations like best time to sell a house. Use these as perspective pieces while you execute the practical steps below.
How staging works: a step-by-step plan
Plan backwards from your photo date. Declutter, repair, and clean first; then place furniture, layer textiles, and style vignettes. Finish two days before photos, complete a final walk-through checklist, and set up easy daily resets for showings.
- Kickoff (Day 1): Walk every room with a notebook. List repairs, edit goals, and storage needs. Decide on a photo date.
- Editing & packing (Days 2–5): Remove 25–30% of items. Box seasonal clothing, extra toys, small appliances. Label bins.
- Repairs & paint (Days 3–7): Patch holes, tighten handles, touch up scuffs. Favor light-neutral paint for main areas.
- Deep clean (Day 7): Windows, baseboards, grout, vents, and appliances. Clean mirrors and glass last for a streak-free finish.
- Lighting & bulbs (Day 8): Match 3000–3500K across fixtures. Replace dim bulbs. Add lamps for corners.
- Furniture placement (Day 9): Create 36-inch pathways and clear sightlines to windows and focal points.
- Textiles & accents (Day 10): Layer 2–3 pillows, one throw per sofa/bed, and 1–2 plants per main room.
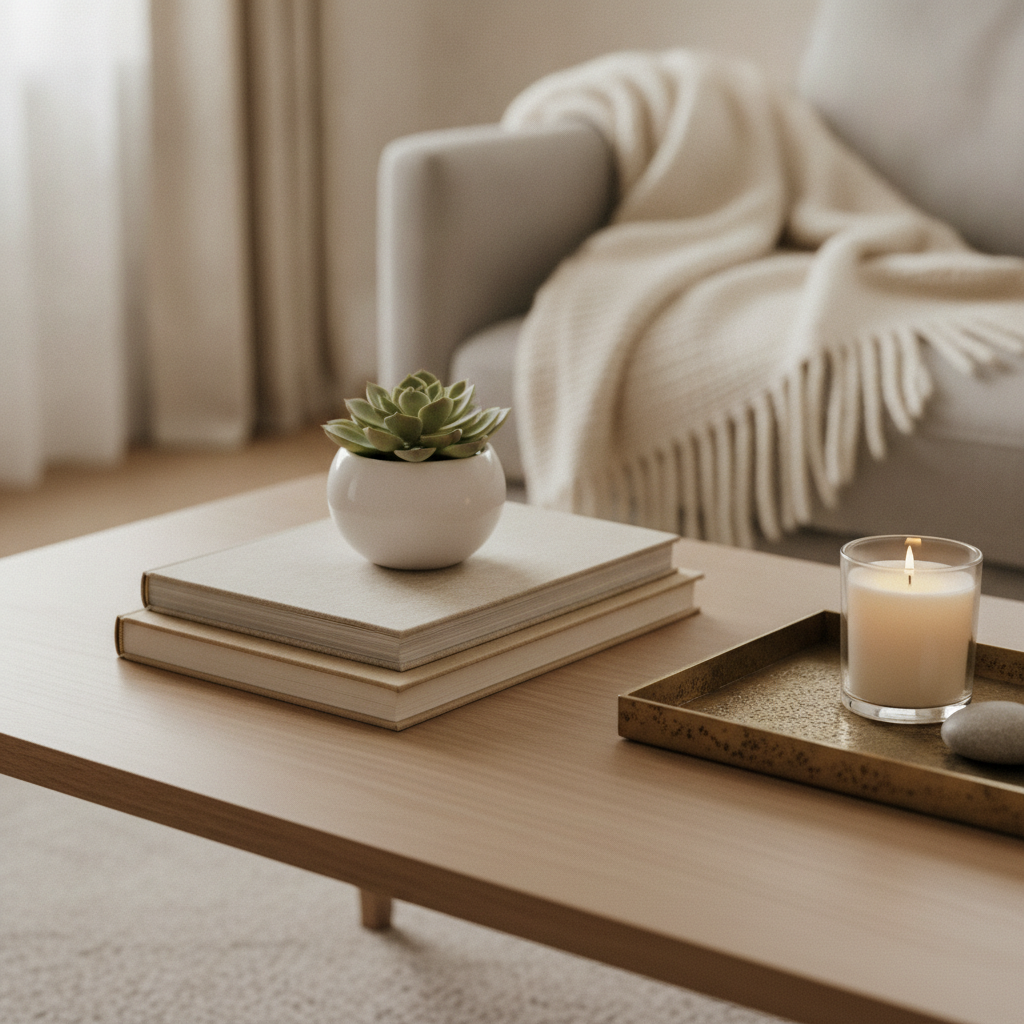
- Vignettes & art (Day 11): Style coffee tables, mantels, and entry tables with odd-number groupings (3–5 items).
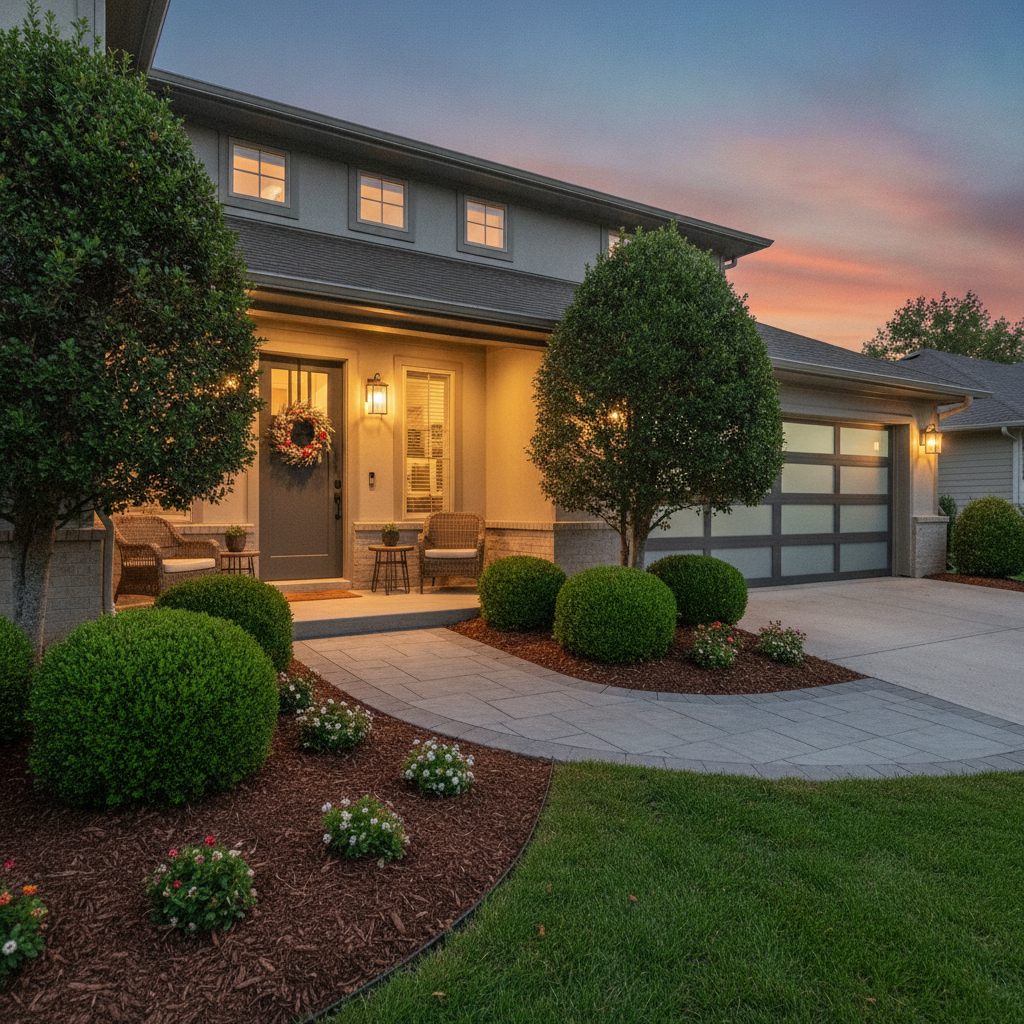
- Exterior tune-up (Day 12): Fresh mulch, trimmed hedges, pressure-washed walkways, porch lights on.
- Final checklist (Day 13): Walk with your agent. Correct any visual clutter and confirm photo angles.
- Photo day (Day 14): Hide bins, open blinds, turn on all lights, and style kitchen/baths last.
Pro tip: build a 10–15 minute showing reset (daily) so the home stays photo-perfect through back-to-back tours.
Types of staging approaches
Sellers can choose occupied staging (optimize what you own), partial staging (rent select pieces), or vacant staging (full furniture and decor). The right approach depends on property type, target buyer, and timeline. Occupied staging is most common and cost-effective for lived-in homes.
Occupied staging (most common)
- Use what you have: edit, rearrange, and supplement with a few on-trend accents.
- Best for: families living in the home, townhouses, and condos with decent existing furniture.
- Key metric: reduce small decor to 3-piece groupings per surface for a cleaner photo read.
Partial staging (targeted impact)
- Rent selectively: area rugs, a modern sofa, or headboards to modernize focal rooms.
- Best for: homes with a few dated pieces or small rooms that need scale correction.
- Key metric: add 1 large-scale mirror per level to amplify light and depth.
Vacant staging (full transformation)
- Furnish the story: entire rooms staged so buyers can gauge scale and use.
- Best for: newly renovated or investor properties; listings where empty rooms feel smaller in photos.
- Key metric: stage at least living room, dining, kitchen eating area, and primary suite—buyers’ decision rooms.
Home staging tips for sellers: the essentials
Focus on decluttering, lighting, and layout first. Then style surfaces with simple, odd-number groupings and fresh textiles. Keep counters clear, use cohesive warm-white bulbs, and add greenery. These basics drive 80% of the visual improvement in listing photos and showings.
Universal tips that always work
- Light rules the scroll: open blinds, remove heavy drapes, and match bulbs at 3000–3500K.
- Three’s company: style decor in 3s for effortless balance.
- Scale beats quantity: one 24–30 inch art piece reads better than many small frames.
- Green adds life: 1–2 plants per main room keep photos from feeling flat.
- Walkways matter: preserve 36 inches of clearance so buyers feel roomy circulation.
Room-by-room mini checklists
- Living room: anchor with a rug that fits under front legs of seating; 2–4 pillows; one throw.
- Kitchen: keep only 1–3 appliances out; a bowl of green apples or lemons; clear fridge doors.
- Dining: table for 4–6 with simple runner; one centerpiece no taller than 12–14 inches.
- Primary suite: made bed with neutral duvet; two lamps; no laundry in sight.
- Bathrooms: white towels, closed toilet lids, minimal bottles (1–2), and a small plant.
- Kids’ rooms: bins labeled; display 3 favorite items; store extras under bed neatly.
- Entry: clean mat, single console vignette, and empty shoe rack during showings.
Photo day and open house game plan
Stage for the camera first, then for live flow. Turn on every light, open blinds, hide cords and bins, and style 3–5 hero vignettes. For open houses, set an easy reset routine, scent lightly, and provide a takeaway sheet highlighting upgrades and neighborhood perks.
- Photo priorities: windows clean, mirrors streak-free, and beds hotel-tight with two stacked pillow sets.
- Angles checklist: shoot from doorway corners to maximize space; include 1–2 detail shots per level.
- Open house reset: 10–15 minutes: wipe counters, fluff pillows, replace towels, and secure valuables.
- Buyer flow: keep blinds consistent; turn on porch and hallway lights for evening showings.
DIY vs professional staging
DIY staging works when you have time, neutral furniture, and basic styling skills. Professional staging is best for vacant homes, dated furniture, or tight timelines. A hybrid—DIY prep plus a designer’s plan—often delivers strong results with manageable effort.
| Factor | DIY Staging | Professional Staging |
|---|---|---|
| Best for | Occupied homes with workable furniture | Vacant or highly dated spaces |
| Time commitment | 8–14 days of homeowner effort | 2–5 days (team-managed) |
| Furniture | Use/edit existing; add small accents | Curated rentals sized to each room |
| Consistency | Good with clear plan | High—cohesive look across rooms |
| When to choose | Flexible schedule, light updates needed | Tight launch, empty property, or major refresh |
Not sure which route fits? We often review your photos and floor plan, then map a hybrid prep where you handle editing and cleaning while we guide layout and accents.
Local showing and seasonal tips for North York
Stage for light and commute cues. In North York, highlight storage, easy-maintenance landscaping, and nearby green spaces or schools. Keep a winter/spring mat system at the entry, and time twilight photos to capture warm neighborhood ambiance and curb appeal.
Local considerations for North York
- Reference nearby outdoor living by nodding to trails and parks; if appropriate, mention proximity to Bond Park in your feature sheet.
- For late-afternoon showings near Ace Acumen Academy, plan parking clarity and porch lighting to guide visitors.
- Stage flexible spaces—desk nooks or mudroom zones—since many buyers commute across the GTA and prize organized drop zones.
Tools, checklists, and resources
Use simple checklists and a calendar. Label bins, pre-pack non-essentials, and set daily resets. Track tasks by room and assign owners. Pair your staging plan with a launch date that aligns with expected buyer activity in your area.
- Room-by-room checklist: edits, repairs, clean, lighting, layout, textiles, and photo notes.
- Photo-day packing list: hidden bin for remotes, cords, pet items, and countertop appliances.
- Daily reset card: beds, towels, counters, trash, and lights—10–15 minutes total.
- Launch coordination: pair staging completion 48 hours before photography and listing activation.
For broader planning context, strategy articles like selling a house in Toronto offer timelines and checklists you can compare against your staging calendar.
Mini case insights from our GTA listings
Small edits make outsized differences. We consistently see faster interest when sellers declutter 25–30%, match bulb color, and add simple textiles. Two to three well-chosen vignettes can lift photos and create emotional anchors during showings.
- Townhome refresh: editing toys into two bins, swapping heavy curtains for sheers, and a single 8×10 rug defined the living zone—photos felt larger and brighter.
- Condo clarity: removing a second sofa and adding a mirror opened a compact living room, improving the main image buyers first see on MLS.
- Detached curb appeal: mulch, trimmed hedges, and a painted front door tightened the exterior story; twilight photos showcased warmth for after-work tours.
These aren’t dramatic renovations. They’re targeted, repeatable moves that make listings look cared for and easy to live in.
Common staging mistakes to avoid
Don’t over-style, over-scent, or overcrowd walls. Avoid mismatched bulb colors, visible cords, and blocking windows. Skip busy bedding and tiny art collages. Keep pet items, trash cans, and personal photos out of sight before photos and every showing.
- Visual noise: too many small decor items or gallery walls with tiny frames.
- Lighting mismatch: mixing 2700K and 5000K bulbs in the same space hurts photo consistency.
- Furniture scale errors: oversized sectionals in narrow rooms; fix with floating furniture and slimmer chairs.
- Neglected entries: first impressions suffer when mats are dirty or lights are off.
- Over-scenting: heavy fragrances can signal you’re masking odors; go neutral and fresh.
Where staging fits in your home buying timeline
Complete staging before your listing goes live so you hit the market with momentum. Once you accept an offer, maintain a simplified version for appraisal and final walkthroughs. This keeps your sale path clean while you focus on your next purchase.
We line up staging alongside pre-listing photography, marketing copy, and your disclosure packet. That integration keeps momentum steady from “Coming Soon” to “Live.” If you’re upsizing or downsizing, a well-timed staging plan also makes your move-out easier because you’ve already pre-packed 25–30% of belongings.
Need help deciding what to stage first?
If you’re unsure where to start, we can walk through your home—virtually or in person—and map a quick-win plan. You’ll know which rooms to prioritize, what to pack now, and how to be photo-ready on schedule.
Let’s build your staging roadmap. Share your target launch week and a few snapshots. We’ll reply with a prioritized checklist and a simple calendar you can follow.
Robin Patel — RE/MAX METROPOLIS REALTY
Frequently asked questions
These quick answers address common seller questions about timing, scope, and day-to-day logistics. Use them to fine-tune your plan and keep showings smooth.
When should I start staging before listing?
Begin 10–14 days before photos for most occupied homes. That window lets you edit, repair, clean, and style without rushing. If you plan exterior work or painting, add several days to account for drying and weather.
Do I need to stage every room?
Prioritize the decision rooms: living room, kitchen/eating area, dining, and the primary suite. Secondary bedrooms can be simplified. Clear pathways, cohesive lighting, and tidy surfaces in halls and entries also make a noticeable difference.
How do I keep the home show-ready while living in it?
Create a 10–15 minute daily reset: make beds, wipe counters, swap in fresh towels, empty trash, and turn on lights. Store everyday items in labeled bins you can quickly tuck into closets or the car before showings.
Is it worth staging a vacant property?
Yes when rooms feel smaller or undefined in photos. Even partial staging—living area and primary suite—helps buyers gauge scale and imagine use. Vacant photos can be stark; furnishings add warmth, depth, and context.
Key takeaways
Stage for light, space, and lifestyle. Declutter 25–30%, match warm-white bulbs, and define layouts. Finish 48 hours before photos, then maintain a 10–15 minute daily reset for showings. These repeatable steps lift photo quality and help secure stronger, faster offers.
- Declutter and depersonalize first; then clean, repair, and light.
- Use simple, odd-number groupings and neutral textiles.
- Protect walkways and window sightlines; show the floor.
- Complete staging 2–3 days before listing photos.
- Keep a short daily reset to sustain momentum through showings.
Ready to stage with confidence?
We help North York and Brampton sellers launch photo-ready listings with clear plans and steady execution. Share your target week, and we’ll map the fastest path to a polished, buyer-friendly home—without overcomplicating the process.
Questions about your timeline or which rooms matter most? Let’s talk through quick wins and a realistic schedule so you can go live with confidence.