
7 open house checklist items for Brampton sellers
Printable 7-item open house checklist for Brampton sellers and agents covering preparation, staging, safety, lead capture and quick post-open follow-up.
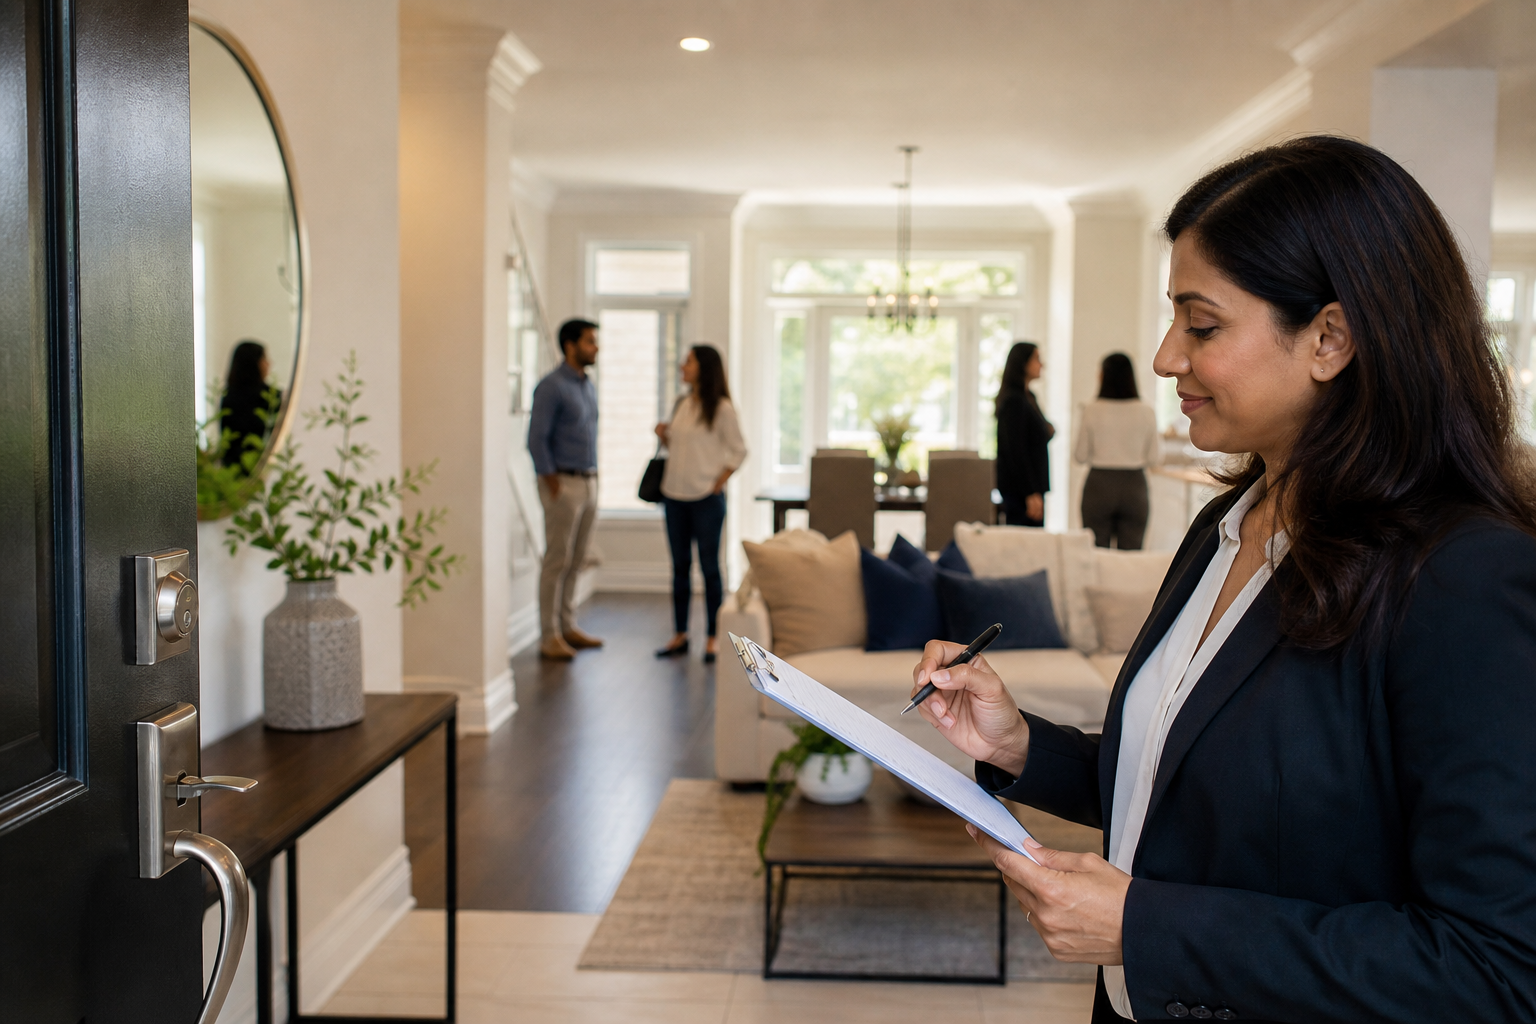
7 open house checklist items for Brampton sellers
What this checklist covers and how to use it
This article provides a compact, actionable open house checklist you can use immediately, convert to a one-page printable, or adapt into a digital sign-in. It is written for listing agents and Brampton homeowners preparing a residential open house. The seven numbered items follow the sequence most teams use: confirm details, final staging, safety, neighbourhood logistics, lead capture, agent conduct, and follow-up.
The guidance pulls from established agent checklists and staging best practices. For a practical kit approach see the Open House Kiosk checklist, and for lead capture and follow-up templates consult the HousingWire open house checklist. Where helpful, links to model checklists and printable layouts are included so you can download or copy layouts directly.
The 7 essential open house checklist items
1) Confirm listing details and seller expectations
Before you publicize the open house, confirm the listing facts and the seller's preferences. Verify the MLS listing data, showing windows, utility settings, disclosure items and any tenant notices if the property is occupied. Agree the seller's availability and whether they will remain offsite during the open house. Put these items in a short written agreement so expectations are clear and defensible.
- Confirm lockbox, keys and alarm procedure with exact codes and backup contacts.
- Document seller expectations about what stays in the home and what must be removed.
- Use a brief written seller addendum that records entry times and agent responsibilities.
Why it matters: documenting details prevents last-minute surprises, protects the seller, and ensures consistent information for visitors and other agents.
2) Final staging and pre-open walk-through
Perform a staged walk-through 24 to 2 hours before the open house. Check sightlines, lighting, temperature and remove personal or high-value items from plain view. Place concise property feature sheets and printable fact sheets where visitors can take them. A calm, room-by-room sweep reduces overlooked problems and improves the first impression both in person and in listing photos.
- Do a room-by-room sweep: declutter, wipe surfaces, and vacuum high-traffic areas.
- Place printed feature sheets near the entry and test all interior and exterior lights.
- Set thermostat and add subtle neutral scent; avoid overpowering sprays or candles.
Evidence from agent staging guides shows a final walk-through increases buyer engagement and reduces day-of corrections that distract visitors.
3) Safety and security measures
Protect the seller’s property and visitor safety. Ask the seller to remove or lock away valuables and prescription items ahead of the open house. Station the listing agent or a licensed assistant at the main entrance to greet and register guests. Do not leave visitors unsupervised in bedrooms, basements or locked-off areas. Use a consistent supervision routine so duties are clear if multiple staff run the open house.
- Secure jewelry, documents, spare keys and medications out of sight or offsite.
- Keep at least one agent at the entry to monitor movement and prevent unsupervised room access.
- Confirm alarm and lockbox procedures before opening and record emergency contact details.
Why it matters: clear supervision reduces liability, prevents theft and protects the seller. Agent checklists routinely flag unattended rooms and unsecured valuables as common oversights.
4) Signage, parking and neighbourhood access notes
Plan exterior signage and parking instructions that respect local rules and neighbours. Place directional signage at primary approaches and intersections, and leave clear instructions for visitors on where to park to avoid blocking driveways or emergency routes. If the property is a condominium, confirm visitor parking and elevator access rules with the property manager ahead of time.
- Place directional signs at major intersections and the property approach, removing them after the event.
- Provide polite parking guidance to visitors and note alternative nearby lots if street parking is limited.
- Check condo bylaws or neighbourhood signage restrictions before posting outdoor signs.
Note: municipal bylaws and condominium corporations vary. Confirm local rules rather than assuming all sign placement is permitted, and be ready to remove signs if a neighbour complains.
5) Visitor registration and lead capture process
Turn attendance into usable leads by using a clear, fast registration system. A tablet sign-in or printed contact sheet should capture name, phone, email and basic buyer criteria. Offer an immediate value exchange — a one-page property sheet, a market snapshot, or a VIP report — to increase sign-ups. Use a short consent line on the form so visitors understand how you will use their details and can agree to follow-up contact.
- Use a digital form or printed sheet that records name, preferred contact method and timing for purchase.
- Offer an instant incentive such as a market snapshot or a downloadable VIP report in exchange for contact details.
- Include a simple consent line: "I agree to be contacted about this property."
Example sign-in wording: "Welcome, please sign in so we can send the property sheet and market details. We will only contact you about this property unless you opt in for more listings." HousingWire and agent playbooks show that organised registration plus a clear follow-up promise increases conversion from visitors to appointments.
6) On-site agent conduct and buyer qualification
Adopt a short greeting script and a nonintrusive qualification routine. Greet every guest, offer a one-minute highlight of the home, and ask two qualifying questions such as desired move date and financing status. Keep replies short and use them to prioritise post-open follow-up. Consistent agent conduct signals professionalism to buyers and reassures the seller.
- Greet visitors at the door, hand out a property sheet and point out a suggested walking route.
- Ask 1 or 2 qualifying questions such as: "When are you hoping to move?" and "Have you been pre-approved for financing?"
- Flag high-interest visitors for same-day or next-day priority follow-up.
Sample greeting script: "Hello, welcome. I’m Robin. Here’s a short property sheet. Feel free to follow the flow I’ve marked and I’m happy to answer questions. May I check the best number to reach you for follow-up?" A short script ensures consistent messaging across multiple agents or assistants and helps convert serious buyers faster.
7) Immediate post-open follow-up and reporting to the seller
Follow up the same day with a brief thank-you text or email to everyone who registered, and call high-interest prospects within 24 to 48 hours to arrange private showings. Prepare a concise seller report that includes attendance numbers, buyer notes, comments, suggested price or staging tweaks, and recommended next steps. Rapid follow-up keeps momentum and increases the chance of converting an open-house visitor into an active buyer.
- Send a same-day thank-you message with a link to the property sheet and next-step options.
- Call priority prospects within 48 hours to book private viewings or discuss financing.
- Deliver a written report to the seller within 48 hours summarising attendance, feedback and suggested actions.
Sample follow-up text: "Thanks for visiting 123 Main St today. If you would like a private showing or more details on comparable sales, reply and I’ll arrange that." A short, documented cadence reassures the seller and keeps dialogue active with interested buyers.
Before the open house: a final prep and staging walk-through
Complete this final checklist within 24 hours. Confirm the lockbox and alarm status, remove personal items and valuables, wipe high-touch surfaces, and test lights and plumbing fixtures. Use a calm, room-by-room sweep and check that printed materials are fresh and weatherproofed for handing out. Model checklists such as Platuni and Open House Kiosk recommend this final sweep because it transforms routine tasks into reliable first impressions that support showings and online presentation.
- Confirm key access and alarm codes with the seller and record a backup contact.
- Remove or secure personal photos, jewelry and valuables.
- Place fresh property sheets and test all lights, heating and cooling for comfort.
Brampton-specific notes: bylaws, signage and condo rules to check
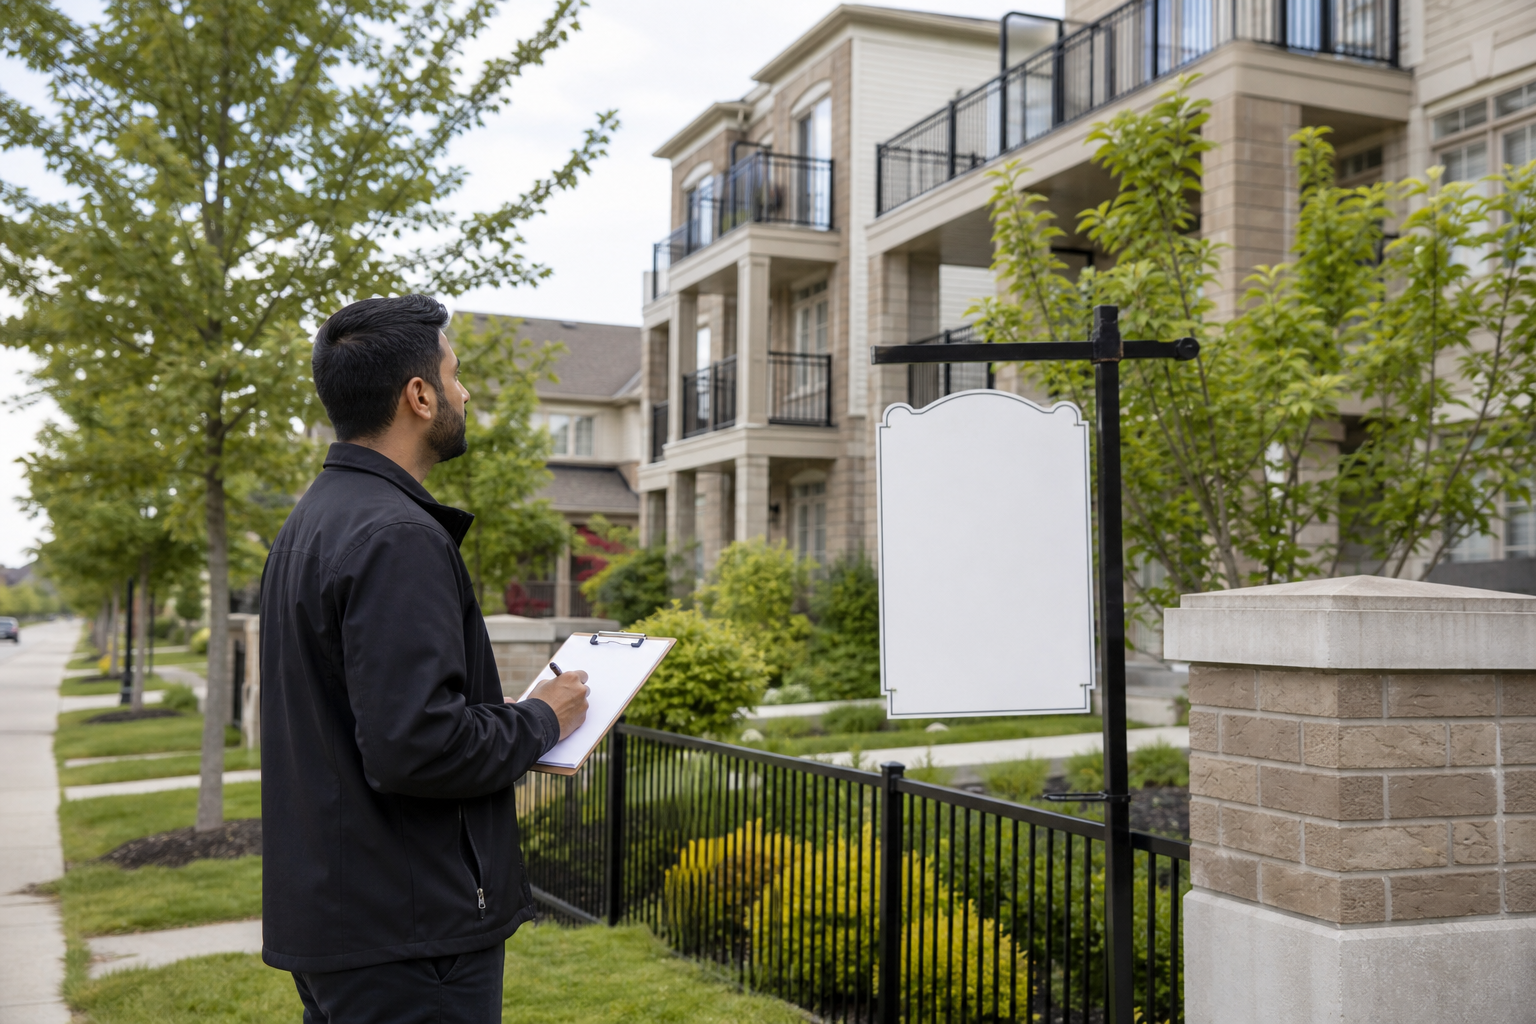
Brampton sellers and listing agents should verify municipal signage and parking rules and condominium visitor or elevator access restrictions if the property is a condo. The Real Estate Council of Ontario (RECO) provides seller-facing guidance about preparing for an open house; consult your local condominium corporation and municipal bylaw office for specific limits on signage and parking. When in doubt, check governance documents rather than assuming a practice is permitted.
If you work with a brokerage, confirm any additional policies required by your brokerage such as branding rules, pre-qualification expectations or advertising restrictions. For tools that support local sellers, pair this checklist with address-based valuation and VIP reports available on TheReliableRealtor.ca to increase the value of your door or online incentives.
Downloadable one-page printable checklist and next steps
Convert the seven micro-checklists above into a single one-page PDF that you can hand the seller or give to assistants. Teams often use that one-page PDF as a lead magnet, training aid or a checklist for new hires. For printable layout ideas and a practical template see the Open House Kiosk checklist and sample printable guides at Platuni.
To use this checklist with a seller valuation or VIP report, pair it with a property valuation and market snapshot to hand to visitors or to deliver as a follow-up email. That combined approach improves perceived value and encourages visitors to respond to follow-up outreach.
Frequently asked questions
Do I need an agent to host an open house in Brampton
No provincial law forces you to have an agent at an open house, but most sellers choose a licensed agent for supervision, lead capture, and to comply with brokerage or condominium rules. Consult RECO resources for additional seller guidance on preparing for an open house.
How can I protect valuables during an open house
Remove valuables, important documents and prescription medications from the home or lock them in a secure place before the open house. Station an agent at the entrance and avoid leaving visitors unsupervised in private rooms. Agent checklists highlight this as a common oversight and recommend a firm documented routine.
Is it legal to collect contact details from visitors at an open house
Collecting contact details is common and acceptable provided you state how you will use the information and obtain permission to follow up. Include a short consent line on the sign-in form and follow applicable privacy rules for storing and using personal data. Organised registration with an explicit consent line is best practice.
How soon should I follow up with open house attendees to increase conversion
Send a same-day thank-you message and call priority prospects within 24 to 48 hours. Rapid contact keeps momentum and converts more visitors into private-showing appointments; conversion-focused open house resources recommend this cadence.
Ready to use this checklist for your Brampton listing or want a valuation to include with your open-house materials? Contact Robin Patel to download the printable checklist and request a free VIP report tied to your property valuation.